Spilt Shells Crochet Jar Candle with lid
This is a slightly more closed pattern than my last design, Shells and Lace, but it is still lacy enough to let light through. The shell repeat is offset which I think makes for a prettier pattern.
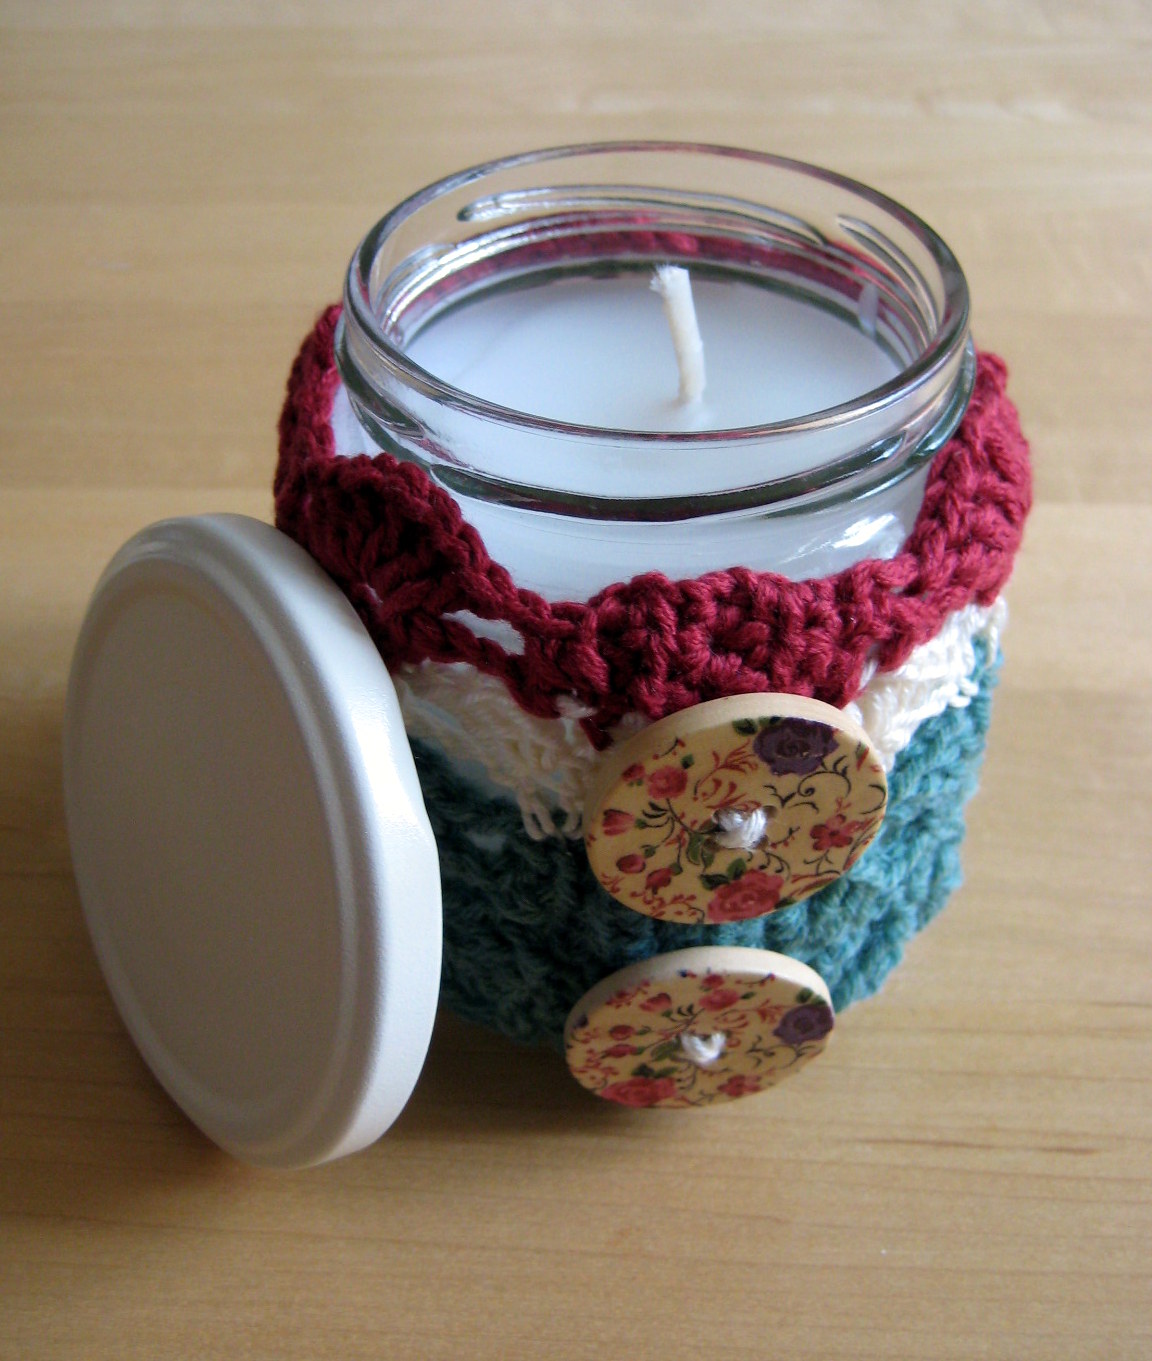
I planned to make this cover out of green only, but as I was using up old stash yarn, I ran out. Happily the cream and dark pink matched the buttons nicely so I’m quite glad about that in the end! (Do you remember these buttons from my Holiday Inspiration post? You can buy them here.)
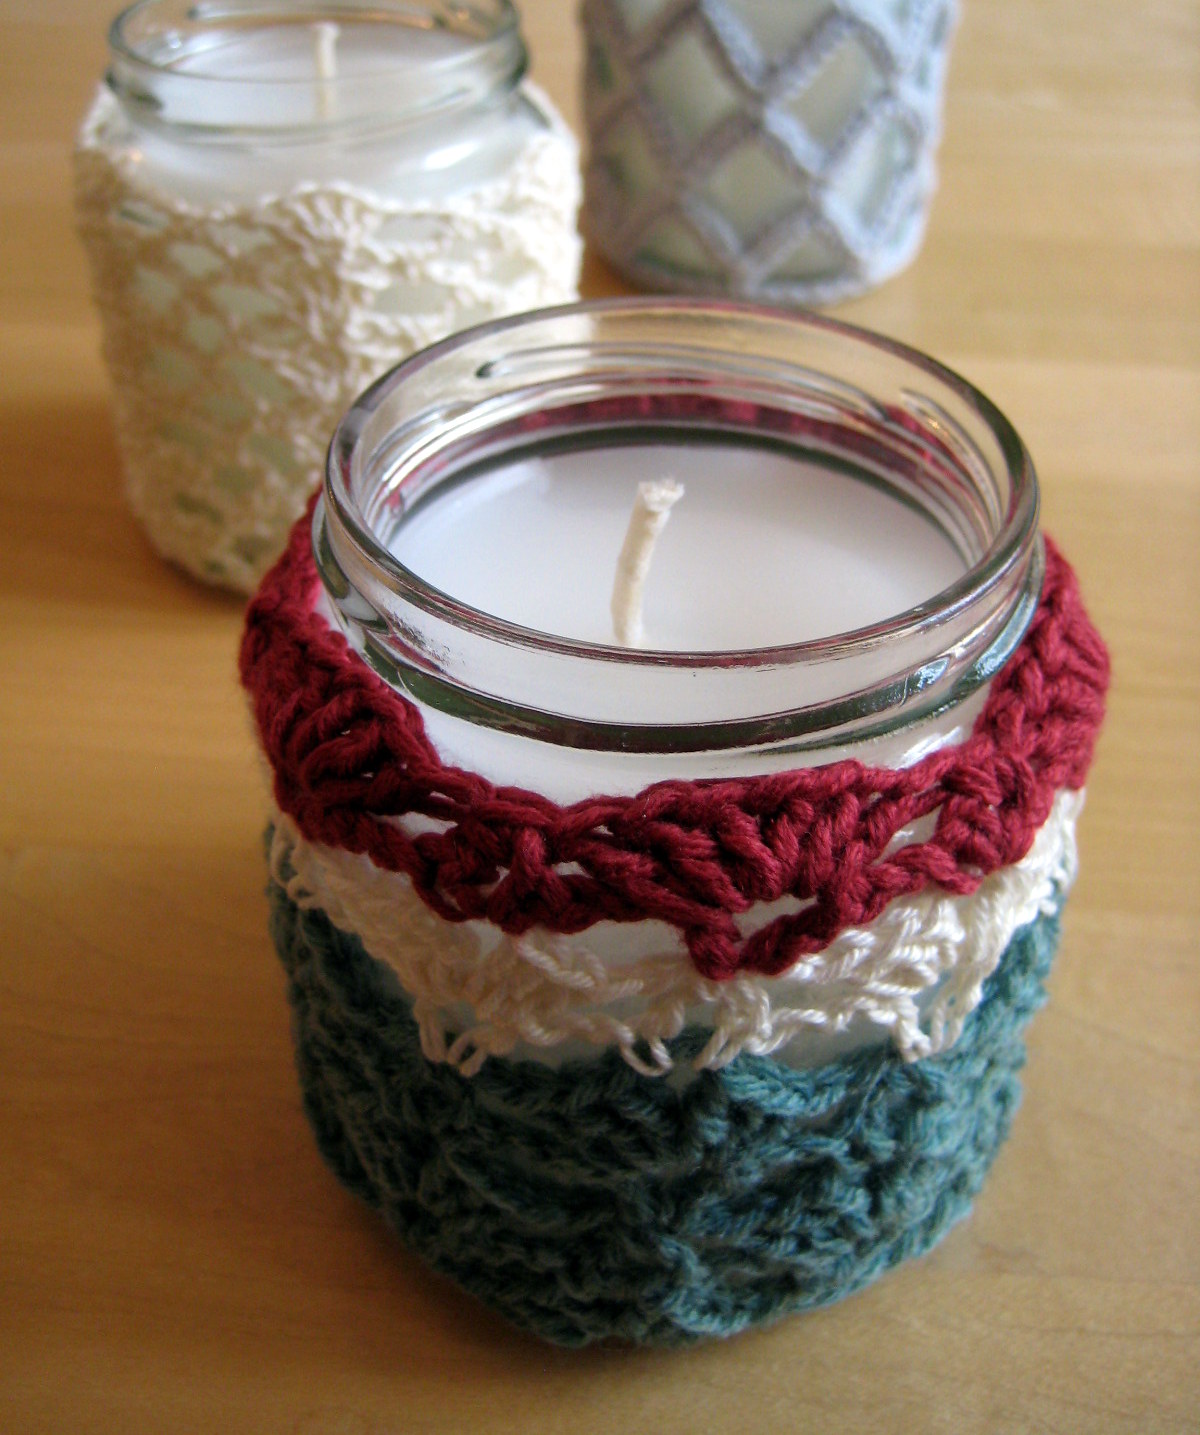
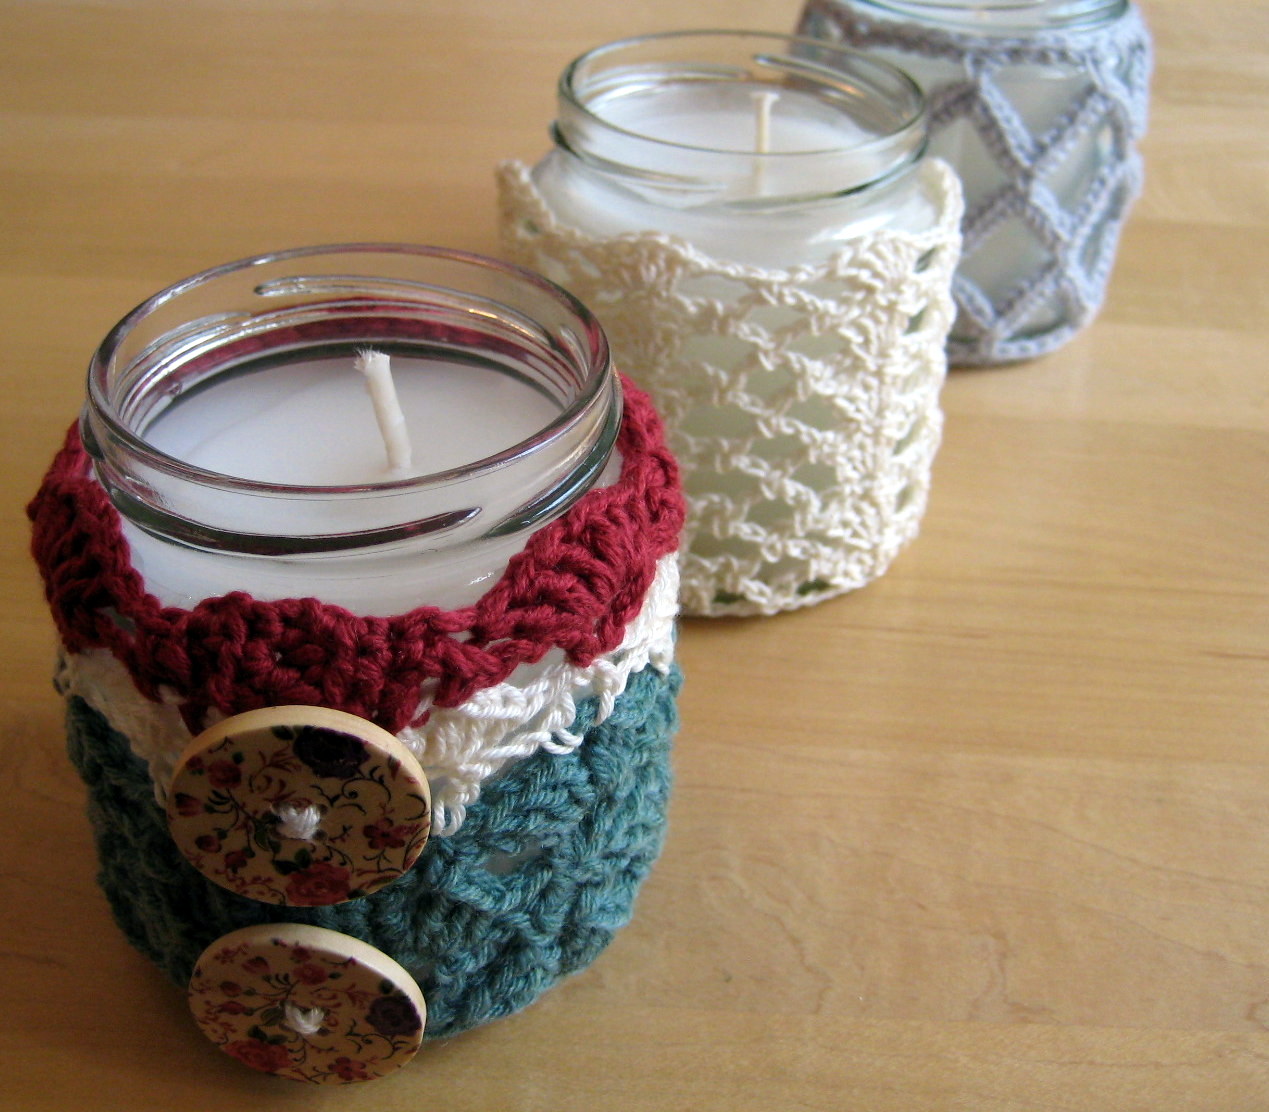
A mix of patterns looks pretty together :)
Look out for my open mesh jar cover pattern coming soon!
Materials:
- Left over stash yarn and matching hook; I used Patons 4ply Cotton (cream), Rowan Milk cotton (pink), vintage recycled stash yarn (green) and a size 4.0mm hook
- Buttons (you may not need these depending on your gauge and jar size)
- Jar Candle
Gauge:
It is best to make a quick swatch and then see what your own gauge is. You can adjust the number of pattern repeats to match the circumference of your jar. This pattern is a little stretchy, so make it on the small side for a snug fit.
If you make it too small you can always add a few rows of single crochet down the length and add some buttons as I did on my cover.
My jar was 24cm around, each pattern repeat was 4.5cm, so I did 5 pattern repeats for a 22.5cm cover. I then added rows of sc to add width!

Close up of Split Shells Pattern
Pattern:
Ch 42 (or 8n + 2, where n= number of pattern repeats)
R1: sc in 2nd ch, *ch1, sk3 ch, (3dc, ch2, 3dc), ch1, sk 3 ch, sc, repeat from * to end, ending with an sc in the final ch.
R2: ch3, turn, dc in sc, *ch2, [sc, 3ch, sc] in ch-sp between dc groups, ch 2, (dc, ch1, dc in next sc, repeat from * to end, ending with 2dc in last sc.
R3: ch4, turn, 3dc in top of 1st dc, *ch1, sc in ch3-sp, ch1, (3dc, ch2, 3dc) in ch1-sp, repeat from * to end, ending with a (3dc, ch2, dc) in last of turning chains.
R4: ch3, turn, sc in ch-sp, *ch2, (dc, ch1, dc) in next sc, ch2, (sc, ch3, sc) in ch-sp between dc groups, repeat from * to end, ending with an sc, ch2, sc in last ch-sp.
R5: ch1, turn, sc in ch-sp, *ch1, (3dc, ch2, 3dc) in ch1-sp (between dc groups), ch1, sc in ch3-sp, repeat from * to end, ending with an sc in the final st.
Repeat rows 2-5 until the piece is tall enough. End with either a row 3 or 5, but you may wish to modify the final row as follows, so that the top is tight enough to grip the curve of the jar (modifications in bold):
Final R3: ch3, turn, 3dc in top of 1st dc, *ch1, sc in ch3-sp, ch1, (3dc, ch1, 3dc) in ch1-sp, repeat from * to end, ending with a (3dc, ch1, dc) in last of turning chains.
Final R5: ch1, turn, sc in ch-sp, *ch1, (3dc, ch1, 3dc) in ch1-sp (between dc groups), ch1, sc in ch3-sp, repeat from * to end, ending with an sc in the final st.
Finishing:
If your piece is the exact right size, fasten off with a long tail. Use the tail to sew the matching rows together. Weave in all ends.
If your piece is a little small (like mine), do not fasten off. Ch 1 and turn, then sc evenly down the sides to add width. Do this until the piece is the right size. Then either seam together and add decorative buttons, or sc down the other side also and add button loops for a closure.

Turn to display just the crochet pattern, or the buttons if you prefer!
Safety first!
Make your crochet cover shorter than the lip of your jar, you do not want your yarn catching on fire!
Buttons at the front… Can’t decide which I prefer!
Will you make yours plain or multi-coloured? :)


Pingback: Crochet Jar Cover III: Lattice Effect | Make My Day Creative